Build geometry, don't just import it: Pull, Create and a rebuilt CAD panel
Extrude a line into a surface and a surface into a solid by dragging a gizmo in the 3D view. Close a loop of lines into a face, close a set of faces into a watertight body. And twelve repair and defeature operations now sit in four flyout groups instead of one long list.
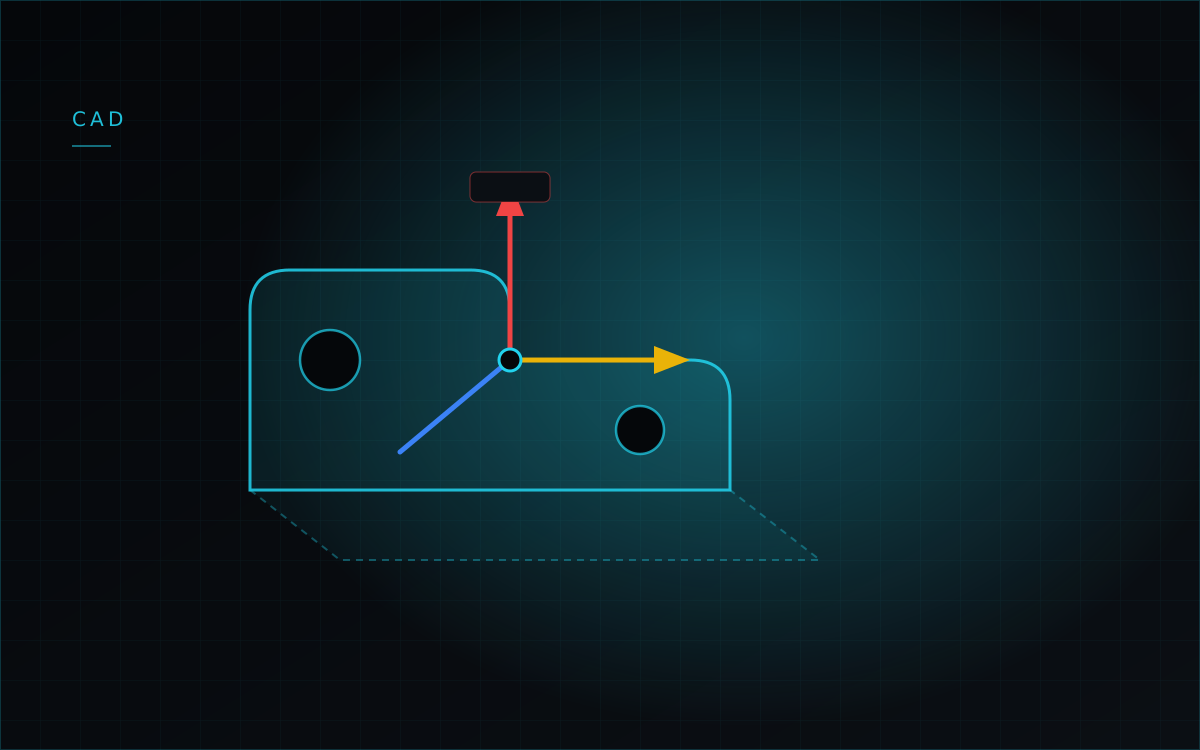
Most FEA models start as an imported STEP file, and most of them need work before they can be meshed — a missing face, a hole nobody wants, a plate that has to be extended. Until this month that work meant going back to your CAD system. Three changes on the Geometry tab close much of that loop inside WebCAE.
Pull now works on bare surfaces and lines
The Pull tool used to extrude one thing: a face of an existing solid. It now has two modes. Pick a line and it sweeps into a surface; pick a standalone surface and it becomes a solid body. The old face-of-a-body path is unchanged and still there.
The distance can be typed, or dragged. Selecting a target arms a translate gizmo in the viewport: the camera orbit locks while you drag, a translucent preview of the swept shape follows the handle, and releasing the mouse commits the extrusion. If the dragged vector is essentially zero, the number in the Distance field wins — so the two ways of working never fight each other.
Create: from a closed loop to a body
The new Create tile on the Geometry tab goes the other way — it builds geometry out of what is already in the scene. In Lines mode, pick the lines of a closed contour and get a planar face. In Surfaces mode, pick the faces bounding a volume and get a solid.
Both modes validate the selection as you build it, and they say what is wrong in geometric terms rather than failing at the end. A contour reports itself as closed, or as not closing into a loop. A shell is watertight only if every edge is used exactly twice — and if it is not, the panel tells you how many edges have a gap or belong to more than two surfaces, instead of producing a body that leaks.
Twelve operations, four groups
The CAD operations panel held twelve tools in one flat list. They now live in a flyout with four groups: preparation (defeature, repair, simplify, shrinkwrap), edges (fillet, chamfer), faces (offset, move face, draft, remove face) and shells (hollow, unstitch). Picking a group filters the panel and, if the active operation is not in it, switches to the first one that is.
Each operation now carries two short help sections — how it works, and what it lets you do. Defeature scans for cylindrical holes and pockets below a radius threshold and heals the surfaces underneath; repair fixes micro-gaps and edge mismatches, then merges same-domain faces; remove face deletes selected blends, chamfers or bosses and extends the neighbours back over the wound. These are the operations that decide whether a mesh is 40,000 elements or 400,000, and it should not take tribal knowledge to tell them apart.
Entity picking got more predictable too. Each operation declares what it wants selected — a body, edges, or faces — and shows a numbered field for it, so the group filter and the actual requirement are never confused. Shift or Ctrl adds to the selection, and picking stays armed until you stop it.
Removing fillets by radius
Remove face gained a second mode: instead of clicking individual faces, set a radius condition — at most or at least a threshold — and apply it to the current body or to every body in the model. Imported assemblies usually carry hundreds of small blends that add nothing to the analysis but cost a lot of elements; this clears them in one action and reports how many bodies changed.
Measurements you can see
Measure now draws on the canvas. Select two entities — points, lines or surfaces — and the shortest segment between them appears with arrowheads and a distance label. Measurements can be saved, shown or hidden individually, and several can be displayed at once. Leaving the Measure tool clears the overlays; coming back restores them.